
Newsletter App with Resend.com Integration
A modern newsletter management platform built with Next.js and integrated with Resend.com for reliable email delivery.
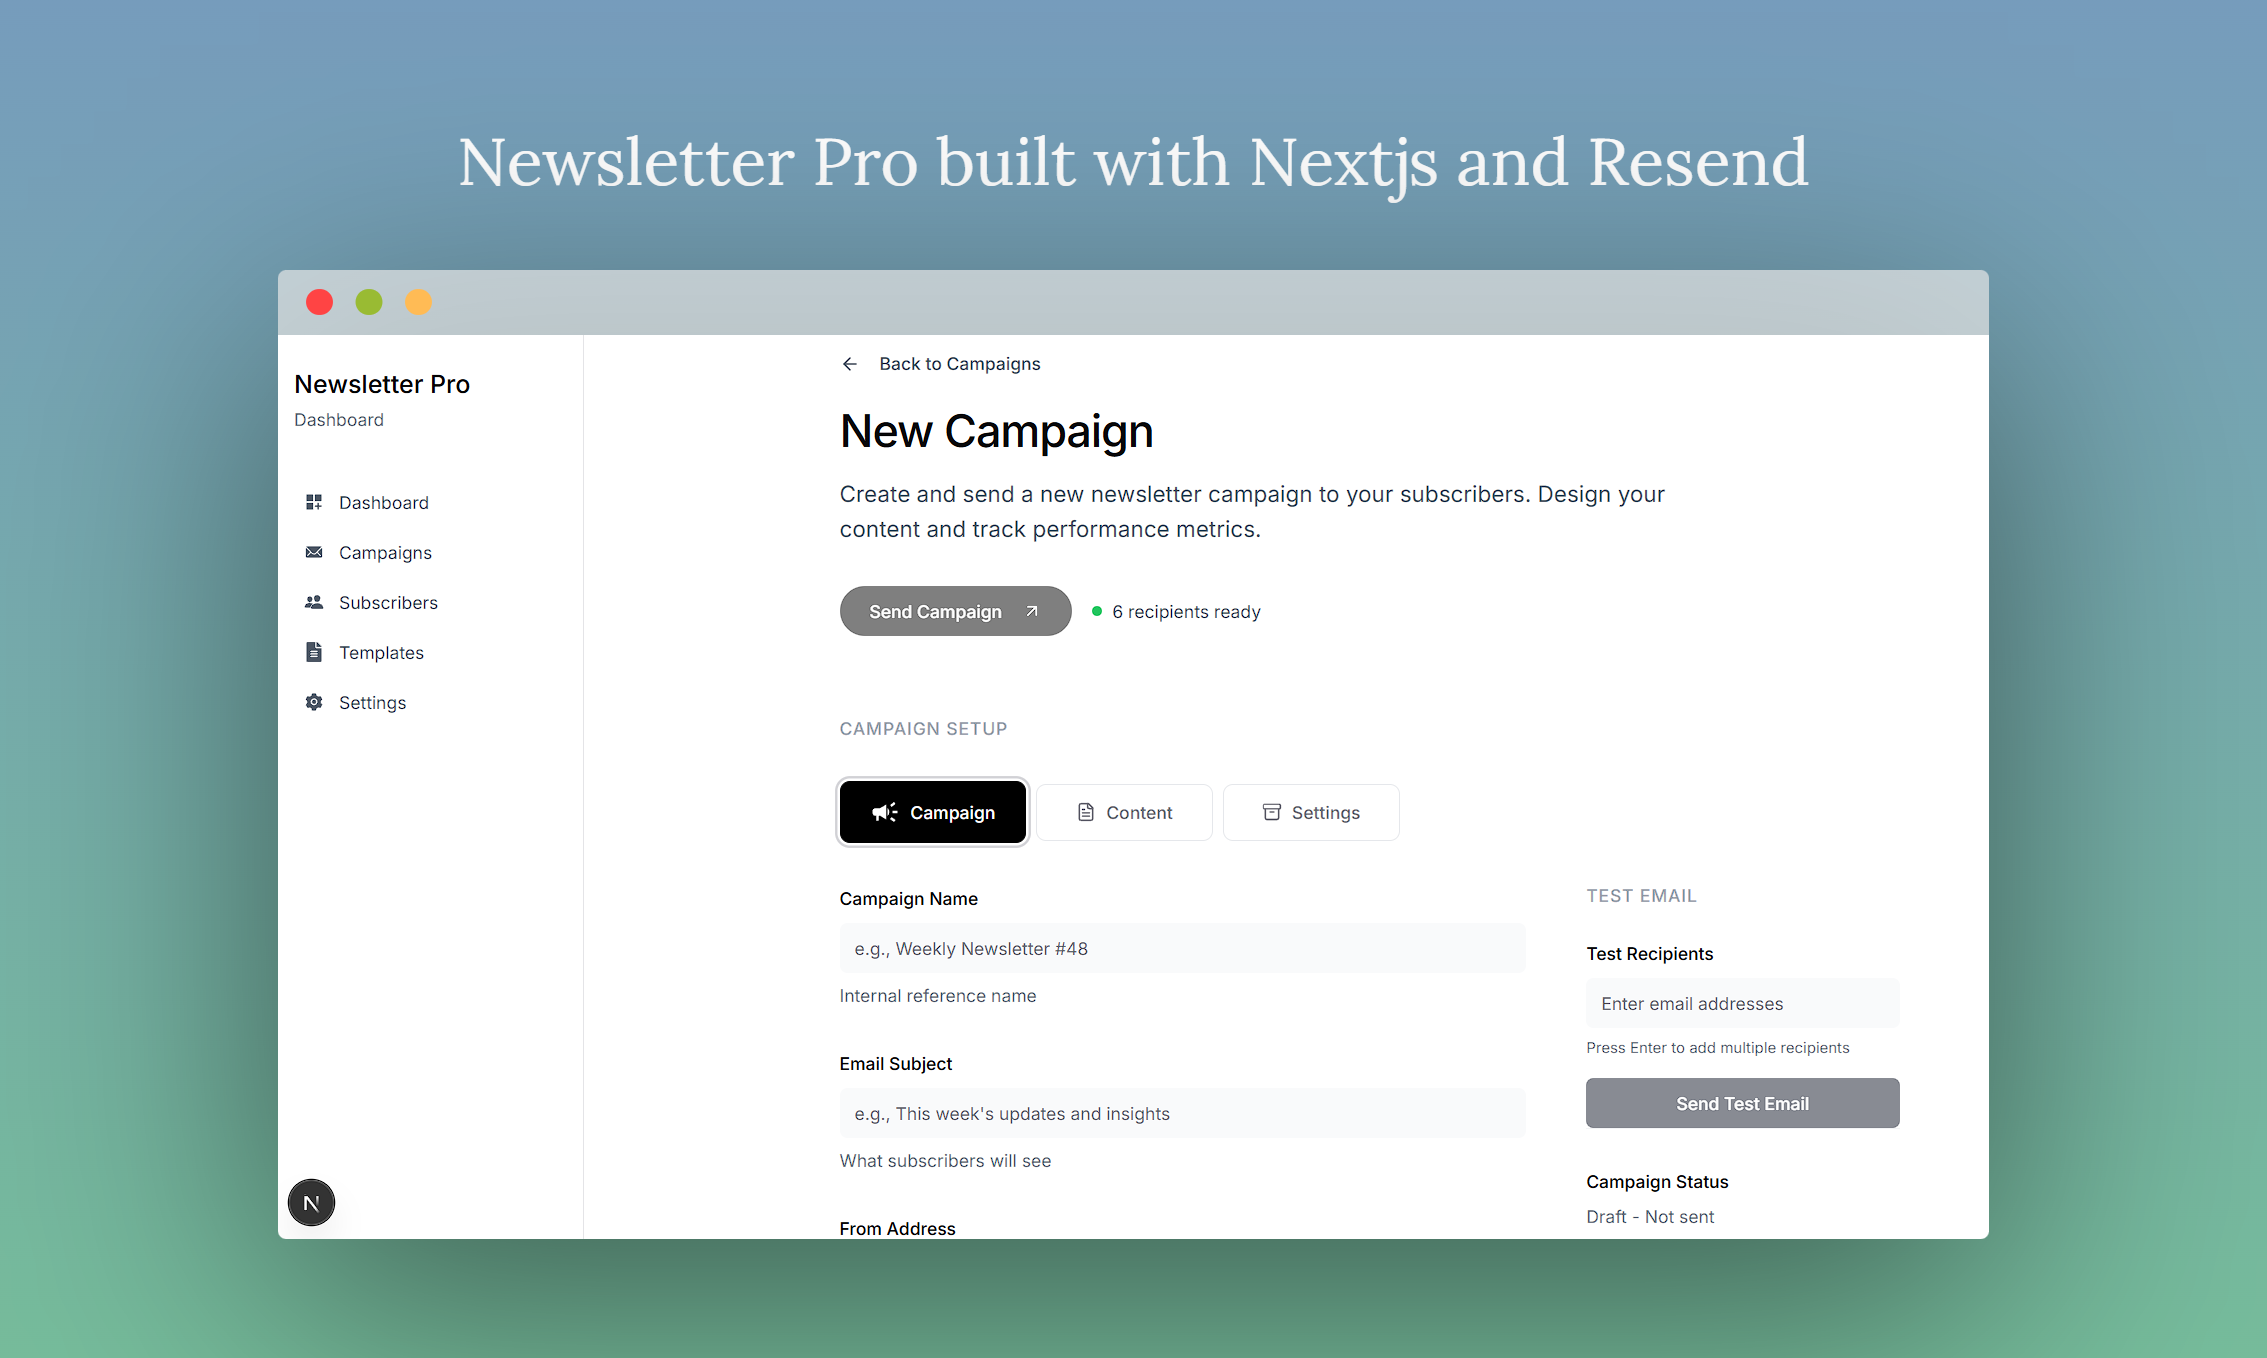
Screenshots
Integrated editor and app screens:


Features
- 📧 Email Campaigns: Create and send beautiful newsletters
- 👥 Subscriber Management: Manage your subscriber lists with real Resend.com contacts
- 📊 Analytics: Track email performance and engagement
- ⚙️ Settings: Configure your email sending preferences
- 🎨 Rich Text Editor: Create engaging content with formatting
- 🧪 Test Emails: Send test emails before campaigns
- 📱 Responsive Design: Works on desktop and mobile
- 🔄 Real-time Data: Fetch contacts and audiences from Resend.com
- 📝 Email Templates: Create and manage reusable email templates
Tech Stack
- Framework: Next.js 15 with App Router
- Styling: Tailwind CSS with shadcn/ui components
- Email Service: Resend.com API
- Language: TypeScript
- Icons: Lucide React
Getting Started
Prerequisites
- Node.js 18+
- npm or pnpm
- Resend.com account
Installation
-
Clone the repository
git clone <your-repo-url> cd newsletter-app -
Install dependencies
npm install # or pnpm install -
Set up environment variables
Create a
.env.localfile in the root directory:# Resend.com API Configuration # Get your API key from https://resend.com/api-keys RESEND_API_KEY=re_123456789... # Resend.com Audience Configuration # Get your audience ID from https://resend.com/audiences RESEND_AUDIENCE_ID=c304ff13-d608-4ab6-af6d-88ffafbd7370 # Email Configuration FROM_EMAIL=newsletter@yourdomain.com REPLY_TO_EMAIL=support@yourdomain.com # Application Settings NEXT_PUBLIC_APP_NAME=Newsletter App NEXT_PUBLIC_APP_URL=http://localhost:3000 -
Get your Resend.com credentials
- Sign up at resend.com
- Go to API Keys section and create a new API key
- Go to Audiences section and create a new audience (or use existing)
- Copy the API key and audience ID to your
.env.localfile
-
Configure your domain (optional but recommended)
- In your Resend.com dashboard, go to Domains
- Add and verify your domain
- This improves email deliverability
-
Run the development server
npm run dev # or pnpm dev -
Open your browser
Navigate to http://localhost:3000
Usage
Managing Subscribers
- Go to Subscribers to view your real Resend.com contacts
- Add new subscribers manually - they'll be added to your configured audience
- View subscriber status (active/unsubscribed)
- Delete contacts if needed
Creating Campaigns
- Navigate to Campaigns → New Campaign
- Fill in the campaign details:
- Campaign title (internal reference)
- Email subject line
- Content using the rich text editor
- Send a test email to verify everything looks correct
- Send the campaign to all active subscribers from your audience
Viewing Lists
- Go to Subscribers → Lists to view your Resend.com audiences
- See statistics for each audience
- Manage audiences through the Resend.com dashboard
Configuring Settings
- Visit Settings to configure:
- Resend.com API key
- Email sending preferences
- Domain configuration
- General application settings
API Routes
The app includes several API routes for email and subscriber functionality:
POST /api/email/send- Send individual emailsPOST /api/email/test- Send test emailsPOST /api/campaigns/send- Send campaigns to multiple subscribersGET /api/subscribers/contacts- Fetch contacts from Resend.comPOST /api/subscribers/contacts- Add new contact to Resend.comDELETE /api/subscribers/contacts/[id]- Delete contact from Resend.comGET /api/subscribers/audiences- Fetch audiences from Resend.comGET /api/status- Check API connectivity
Environment Variables
| Variable | Description | Required |
|---|---|---|
RESEND_API_KEY | Your Resend.com API key | Yes |
RESEND_AUDIENCE_ID | Your Resend.com audience ID | Yes |
FROM_EMAIL | Default sender email address | No |
REPLY_TO_EMAIL | Default reply-to email address | No |
NEXT_PUBLIC_APP_NAME | Application name | No |
NEXT_PUBLIC_APP_URL | Application URL | No |
Project Structure
newsletter-app/
├── app/                    # Next.js app directory
│   ├── api/               # API routes
│   │   ├── email/         # Email API endpoints
│   │   ├── campaigns/     # Campaign API endpoints
│   │   └── subscribers/   # Subscriber API endpoints
│   ├── campaigns/         # Campaign pages
│   ├── subscribers/       # Subscriber pages
│   ├── settings/          # Settings page
│   └── ...
├── components/            # React components
│   ├── ui/               # shadcn/ui components
│   └── ...
├── hooks/                # Custom React hooks
│   ├── use-email.ts      # Email management hook
│   └── use-subscribers.ts # Subscriber management hook
├── lib/                  # Utility functions
│   └── resend.ts         # Resend.com API client
└── ...
Customization
Styling
The app uses Tailwind CSS with shadcn/ui components. You can customize the design by:
- Modifying the
tailwind.config.tsfile - Updating component styles in
components/ui/ - Adding custom CSS in
app/globals.css
Email Templates
To create custom email templates:
- Create new components in
components/email-templates/ - Use the templates in your campaign content
- Add template variables like
{{name}}for personalization
Adding Features
The app is designed to be easily extensible. You can add:
- Database integration for persistent data
- User authentication
- Advanced analytics
- Email automation workflows
- A/B testing for campaigns
- Multiple audience support
Troubleshooting
API Key Issues
If you're having trouble with the Resend.com API:
- Verify your API key is correct
- Check that your audience ID is correct
- Ensure your domain is verified in Resend.com
- Check that your account has sufficient credits
- Check the browser console for error messages
Subscriber Issues
- Verify your audience ID is correct in the environment variables
- Check that contacts are being added to the correct audience
- Ensure your audience exists in Resend.com dashboard
- Review Resend.com contact logs
Email Delivery Issues
- Verify your domain is properly configured in Resend.com
- Check spam folder for test emails
- Ensure your from email address is verified
- Review Resend.com delivery logs
Contributing
- Fork the repository
- Create a feature branch
- Make your changes
- Add tests if applicable
- Submit a pull request
License
This project is licensed under the MIT License.
Support
For support with this application:
- Check the Resend.com documentation
- Review the Next.js documentation
- Open an issue in this repository
Built with ❤️ using Next.js and Resend.com
Email Template System
Overview
The email template system provides a comprehensive solution for creating, managing, and using email templates in your newsletter application. It supports both rich text editing and raw HTML editing with real-time preview capabilities.
Features
🎯 Core Features
- Rich Text Editor: Full-featured WYSIWYG editor with formatting tools
- Raw HTML Editor: Direct HTML editing for advanced users
- Real-time Preview: See how templates will look in emails
- Template Categories: Organize templates by type (Newsletter, Marketing, etc.)
- Search & Filter: Find templates quickly with search and category filters
- Inline Editing: Edit templates directly from the preview
- Template Usage Tracking: Track how many times each template has been used
🔧 Technical Features
- Modular Architecture: Separated into reusable components
- Type Safety: Full TypeScript support with proper interfaces
- Error Handling: Comprehensive error handling with user feedback
- Loading States: Skeleton loading components for better UX
- Responsive Design: Works on all device sizes
- Server-Side Safety: API endpoints with proper validation
Architecture
Components Structure
components/
├── template-editor.tsx          # Main template creation/editing component
├── template-card.tsx            # Template card for list view
├── template-preview-editor.tsx  # Inline editing with preview
└── rich-text-editor.tsx        # Rich text editing component

hooks/
└── use-templates.ts            # Template management hook

app/
├── templates/
│   ├── page.tsx                # Main templates list
│   ├── loading.tsx             # Loading skeleton
│   ├── new/
│   │   └── page.tsx            # Create new template
│   └── [id]/
│       ├── page.tsx            # Template detail view
│       └── edit/
│           └── page.tsx        # Edit template page
└── api/
    └── templates/
        ├── route.ts             # GET/POST templates
        └── [id]/
            └── route.ts         # GET/PUT/DELETE individual template
Data Flow
- Template Creation: User creates template → API stores → Hook updates state
- Template Editing: User edits → Preview updates → Save to API → State updates
- Template Usage: User selects template → Navigate to campaign creation
- Template Management: List view → Search/Filter → Actions (Edit/Delete/Use)
API Endpoints
GET /api/templates
Returns all templates
{
  "templates": [
    {
      "id": "string",
      "name": "string",
      "description": "string",
      "category": "string",
      "content": "string",
      "htmlContent": "string",
      "isHtml": "boolean",
      "createdAt": "string",
      "updatedAt": "string",
      "usage": "number"
    }
  ]
}
POST /api/templates
Creates a new template
{
  "name": "string",
  "description": "string",
  "category": "string",
  "content": "string",
  "htmlContent": "string",
  "isHtml": "boolean"
}
GET /api/templates/[id]
Returns a specific template
PUT /api/templates/[id]
Updates a specific template
DELETE /api/templates/[id]
Deletes a specific template
Usage Examples
Creating a Template
import { useTemplates } from "@/hooks/use-templates"

const { createTemplate } = useTemplates()

const handleCreate = async () => {
  await createTemplate({
    name: "Weekly Newsletter",
    description: "Standard weekly newsletter template",
    category: "Newsletter",
    content: "<h1>Hello {{name}}!</h1>",
    htmlContent: "<html><body><h1>Hello {{name}}!</h1></body></html>",
    isHtml: false
  })
}
Using the Template Editor
import { TemplateEditor } from "@/components/template-editor"

<TemplateEditor
  template={existingTemplate} // Optional for editing
  onSave={handleSave}
  onCancel={handleCancel}
  loading={loading}
/>
Template Preview with Inline Editing
import { TemplatePreviewEditor } from "@/components/template-preview-editor"

<TemplatePreviewEditor
  template={template}
  onSave={handleSave}
  onCancel={handleCancel}
  loading={loading}
/>
Template Variables
The system supports template variables that will be replaced when sending emails:
{{name}}- Subscriber's name{{email}}- Subscriber's email{{unsubscribe_url}}- Unsubscribe link{{company_name}}- Your company name
Security Considerations
Client-Side Safety
- All user inputs are validated before sending to API
- Rich text editor sanitizes HTML content
- XSS protection through proper content sanitization
Server-Side Safety
- API endpoints validate all required fields
- Input sanitization on server side
- Proper error handling and logging
Performance Optimizations
- Lazy Loading: Templates are loaded only when needed
- Caching: Template data is cached in the hook state
- Debounced Search: Search input is debounced to prevent excessive API calls
- Skeleton Loading: Loading states provide better perceived performance
Future Enhancements
Planned Features
- Template Versioning: Track changes and rollback to previous versions
- Template Analytics: Track open rates, click rates per template
- Template A/B Testing: Test different versions of templates
- Template Import/Export: Import templates from external sources
- Template Collaboration: Multiple users can edit templates
- Template Approval Workflow: Approval process for template changes
Technical Improvements
- Database Integration: Replace in-memory storage with proper database
- Real-time Collaboration: WebSocket support for live editing
- Template Validation: Validate template syntax and variables
- Bulk Operations: Select and edit multiple templates at once
Troubleshooting
Common Issues
- Template not saving: Check if all required fields are filled
- Preview not updating: Ensure content is not empty
- Rich text editor not working: Check browser compatibility
- API errors: Verify network connection and server status
Debug Mode
Enable debug mode by adding ?debug=true to any template URL to see additional information.
Contributing to Template System
When contributing to the template system:
- Follow the existing component structure
- Add proper TypeScript types
- Include error handling
- Add loading states
- Test on different screen sizes
- Update documentation
Dependencies
- React: UI framework
- Next.js: Full-stack framework
- TypeScript: Type safety
- Tailwind CSS: Styling
- Lucide React: Icons
- Radix UI: Accessible components